🌶️ Bird’s Eye Chilli- From Bush to Sauce
Just over two years ago, we planted a tiny chilli bush in a sunny corner of our Nerja garden. Back then it was no more than a handful of green shoots, but under the Andalusian sun it has thrived beyond belief. What started as an experiment has turned into one of our favourite flavours in the kitchen.
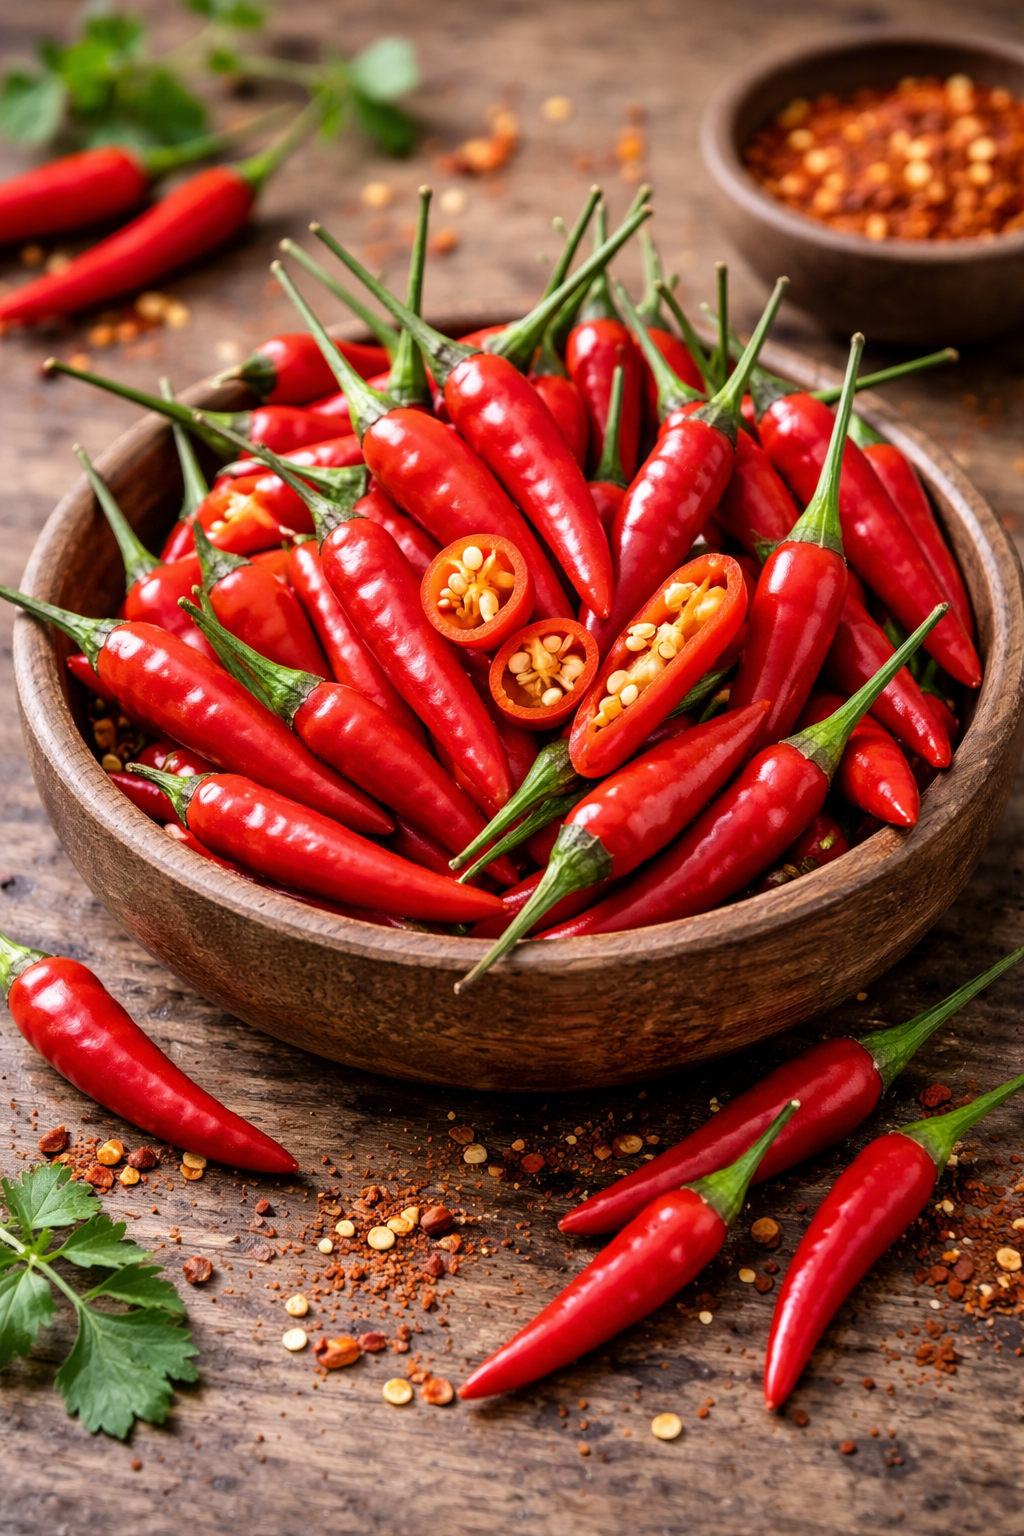
The fiery Bird’s Eye chilli loves Nerja’s conditions — hot, dry days with plenty of light. They grow fast once summer sets in, and this is the time of year when they really flourish, producing right through until winter, when the cold finally slows them down.
If you don’t have your own plant, you can often pick up fresh Bird’s Eye chillies at the local markets or if you’d like to grow them yourself, many gardening shops around Nerja and Torrox sell different types of chilli plants. Just make sure you choose the spicy varieties — if you’re a chilli lover like us, you’ll want that extra kick!
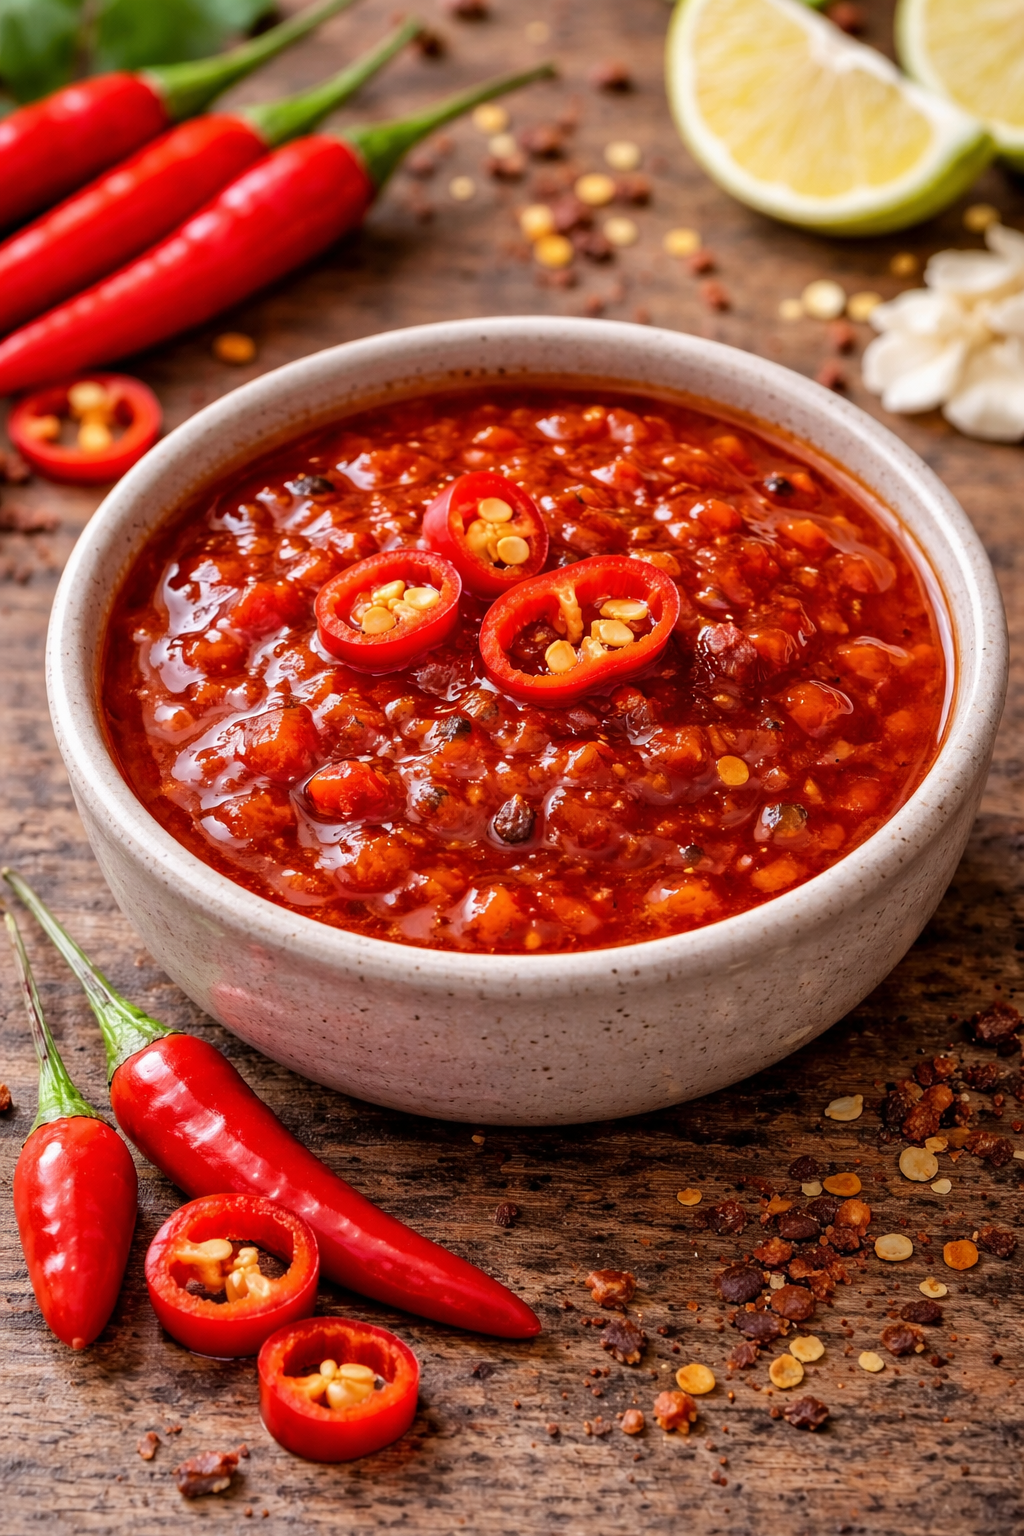
Year after year, our little bush rewards us with handfuls of brilliant red chillies — small but mighty, bursting with spice. And what do we do with them? We make chilli sauce, of course! It’s become a favourite not only for us but for many of our friends. You’ll see, this is one of the sauces we use in many of our recipes. A tiny spoonful is all it takes to give any dish that extra oomph. From stews and veggie stir-fries to soups, pasta, dips, and even a cheeky drizzle over pizza — it’s a flavour we’d miss if it wasn’t in the fridge. And if you love spice, don’t be afraid to stir it into local delights too — a fiery twist on bravas sauce or even gazpacho is absolutely delicious.
Homemade Chilli Sauce
Ingredients:
A handful of fresh Bird’s Eye chillies
4 fresh tomatoes (or a carton/tin of chopped tomatoes)
A sprinkle of salt and pepper
2–3 tablespoons of vinegar
3-4 tablespoons of olive oil (add a little more if you prefer a smoother texture)
Garlic optional
Instructions:
Wash and cut the ends of your chillies ( leave the seeds for that hot spice) and chop the tomatoes.
Pop everything, including oil and vinegar, salt & pepper into a blender and whizz until smooth.
Check, sometimes I add a little extra olive oil if it needs to be smoother.
Put some into a glass container and keep it in the fridge ( lasts at least a month).
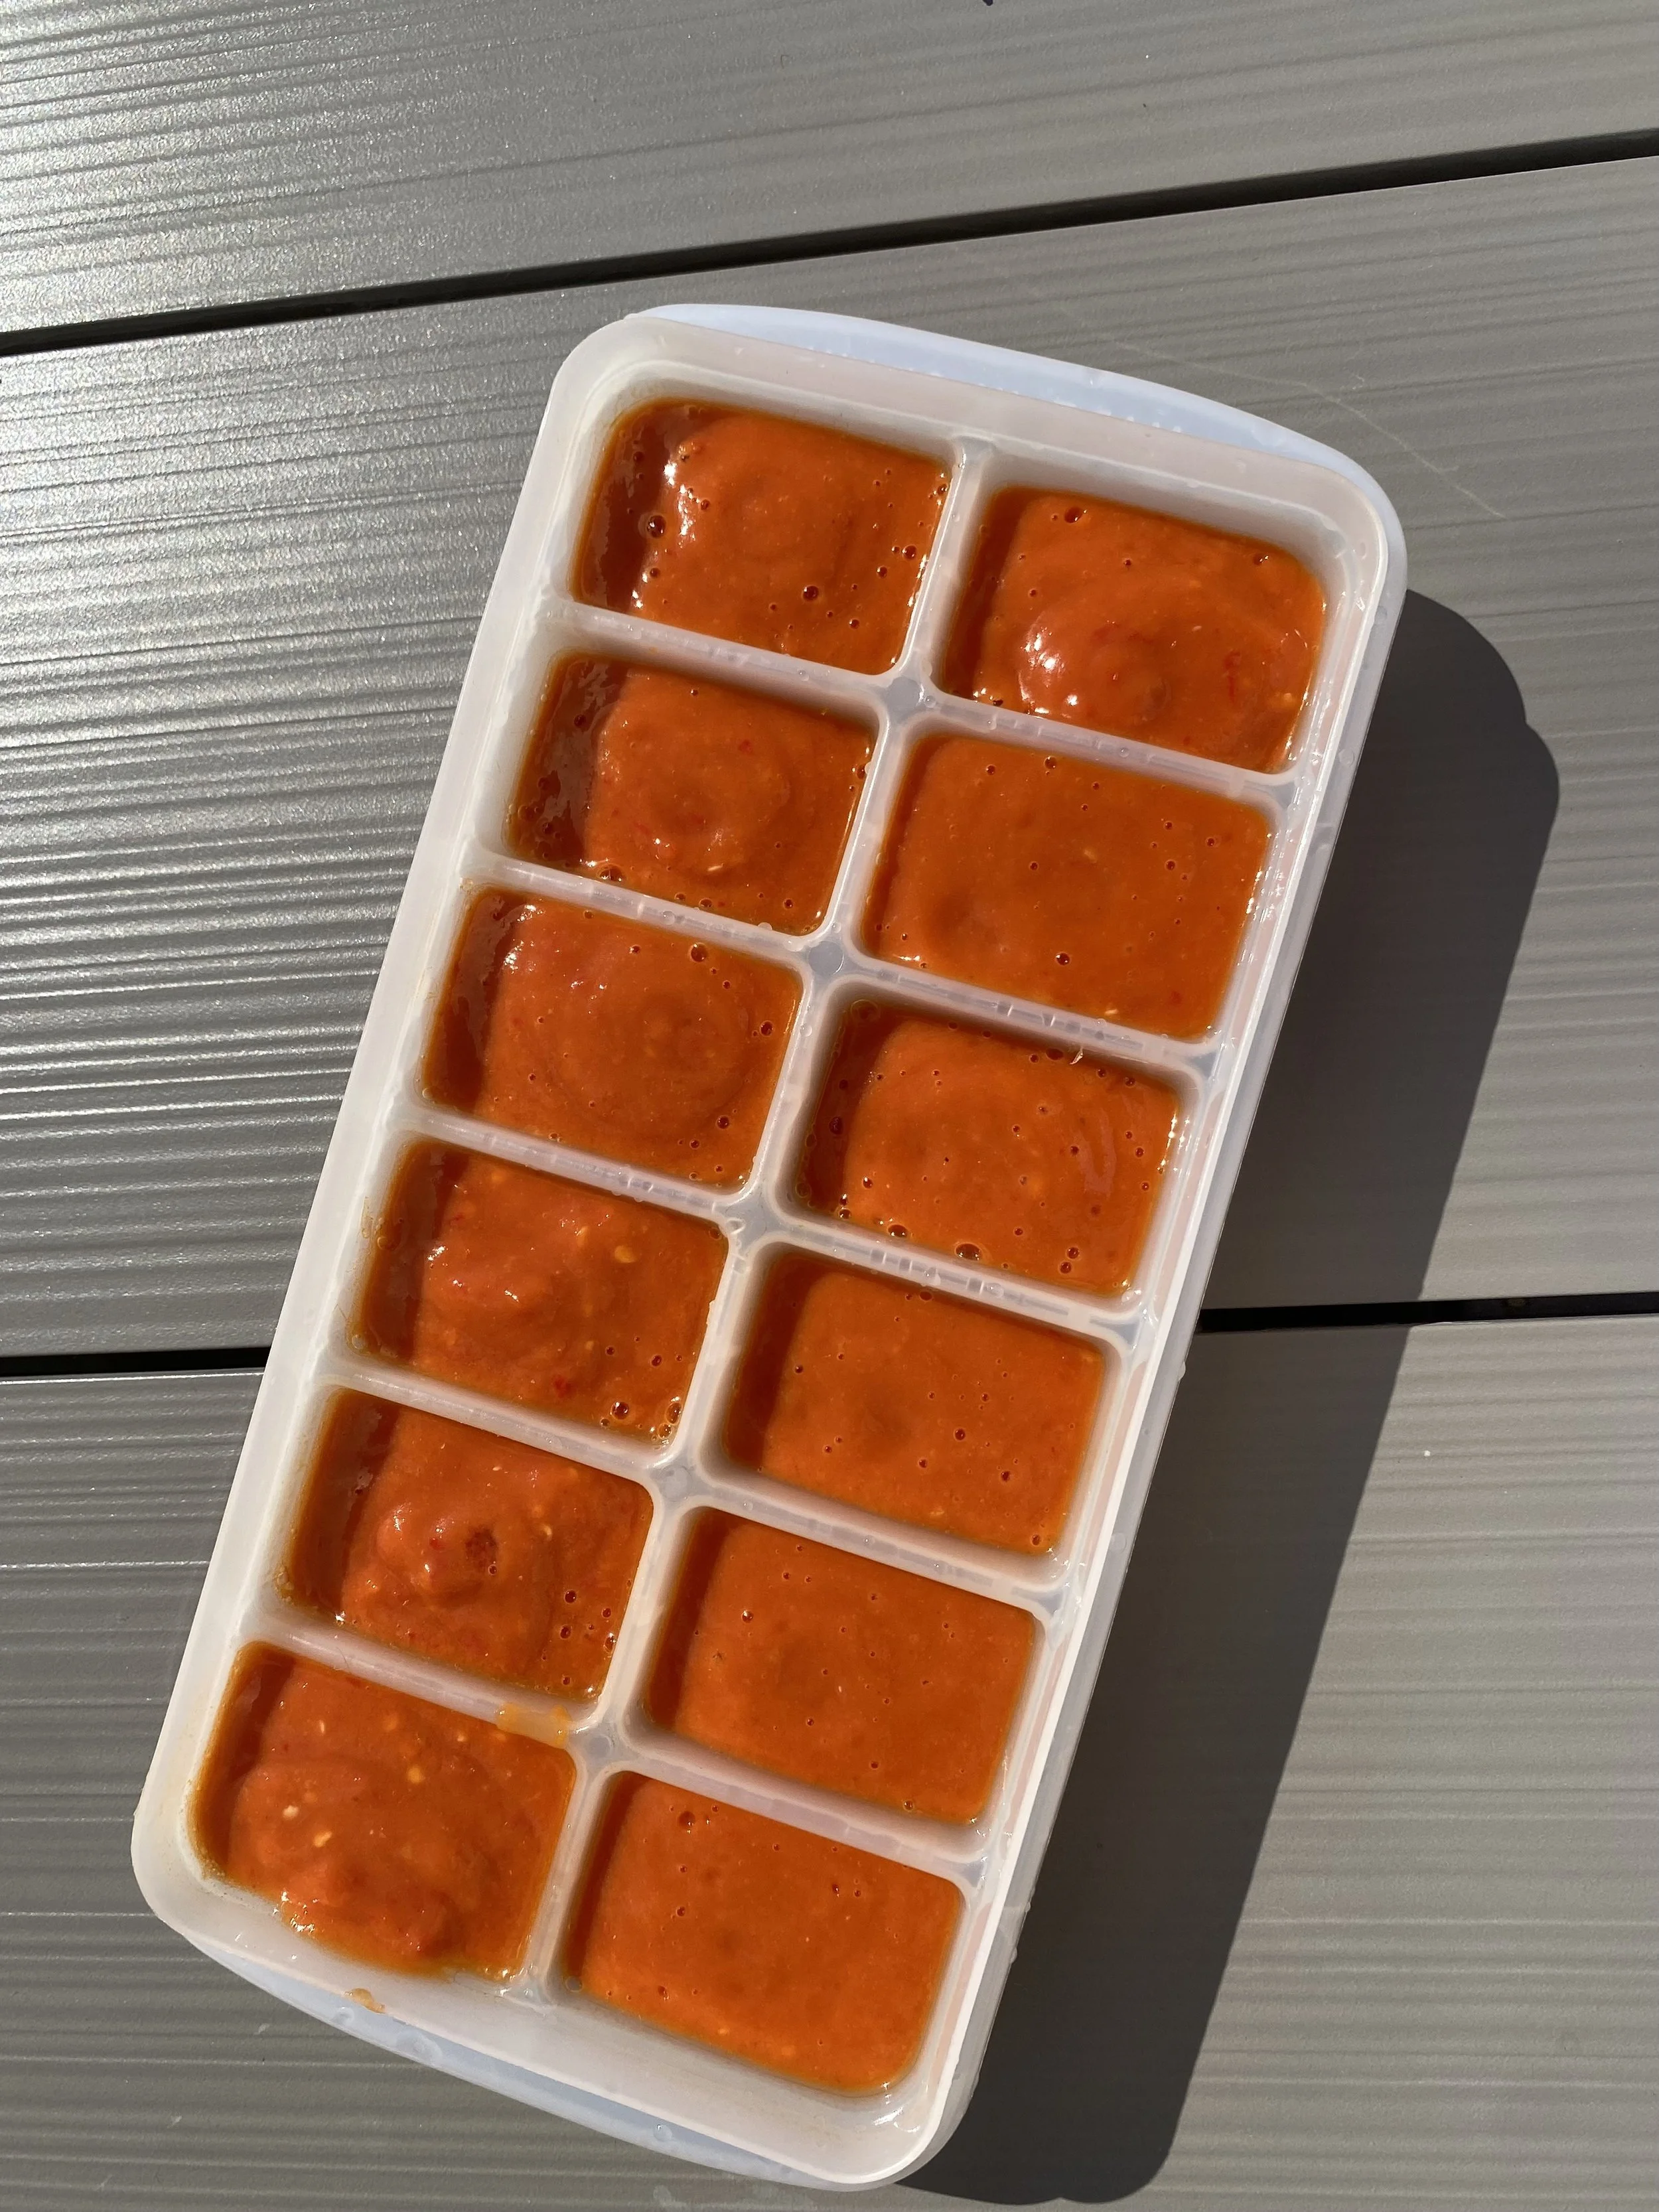
Pour rest into ice cube trays and freeze. Once solid, transfer to a freezer bag or container.
By keeping a tray of chilli cubes in the freezer, you’ll always have a burst of heat ready — even in the colder winter months. Just top up the jar in the fridge when it runs low, and there will always be chilli sauce waiting for your cooking or to be added into dips.
A Little Tip: Give your chillies their own ice cube tray, as they love to leave a little of their colour and spice behind. REMEMBER - These chillis are hot, hot, hot so will your sauce be!!!